
Have you noticed when you use the "Transfer" feature in QuickBooks Online to move funds from one bank account to another bank account or to your PayPal account, there is no “location nor class” field anywhere on the transfer screen?
The lack of the location field will cause your transactions to show up under the "Not Specified" column when using locations to track the net asset restrictions of your nonprofit or the different regions of your small business.
In this tutorial, I will show you my workaround solution to record bank transfers and keep your balance sheet or statement of financial position report clean.

Log into your QuickBooks Online company file and follow the below instructions.
Turn on Location Tracking
Click the Gear icon, then select Account and Settings under your company
Click the Advanced tab, under categories, turn on track locations
Give your location label a name by choosing from one of the dropdown options
Click Save
Click Done to exit the account and settings window
Create Your Locations
Click the Gear icon, then select All Lists
Click on the name of location label you selected from above (ex. Divisions)
Click the New button to add your locations
Add your location name and choose any of the preferences option if applicable
For a nonprofit, location name = 1.Without Donor Restrictions and 2.With Donor Restrictions
For a small business, location name = different physical locations or branches
Click Save
Create a Generic Vendor
Click the Expenses Tab, then select Vendors
Click the New vendor green button at the top right-hand corner
In the company field, add a generic name like "Fund Transfers"
Make sure the display name on print check is also checked
In the Notes field, enter "This is vendor is strictly used to record fund transfers between various balance sheet accounts."
Click Save to create the vendor and exit the vendor window

Record Your Bank Transfer Using a Check
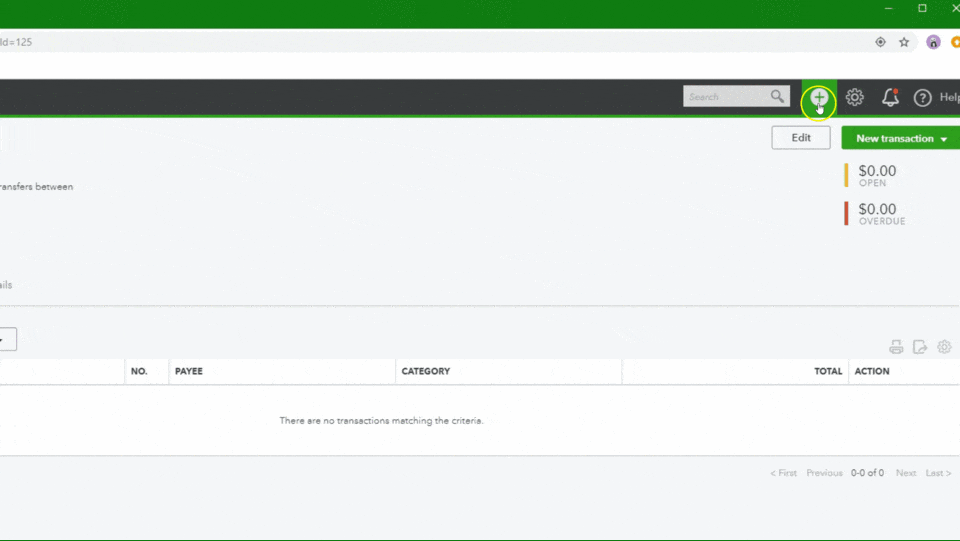
Click the Quick Create (+) icon
Under Vendors, select Check
In the Check window, enter the following:
Payee = Fund Transfers (the generic vendor created above)
Bank Account = the account you withdraw the funds from (ex. Bank Account)
Payment date = the date funds were withdrawn
Check no. = use this format “EBTPaymentDate”
Location (aka Division or Departments) = Pick your location (ex. 1.Without Donor Restrictions or Store #1)
Category = the account you are transferring the funds into (ex. PayPal or another bank account)
Description = enter the reason for the fund transfers (ex. Funds transferred from Bank Account# to Bank Account# for XXXX)
Amount = the amount of the funds transferred
Class = use Admin/Support, General Fund, or any other class that defines why you are transferring this fund
Memo = copy and paste the same text from the above description field
Attachments = add the receipt you received from your bank account (Optional)
Click save and close
Run a Balance Sheet or Statement of Financial Position Report
Run a balance report or statement of financial position report to verify that the transaction appears under the correct location column “1.Without Fund Restrictions” we created above.
Click on the Reports tab, select the Balance Sheet or Statement of Financial Position report
Report period = update the date range to include the payment date from above
Display columns by = change this to your location label (ex. Divisions or Departments)
Accounting method = cash or accrual (this will default to the accounting method you selected in your company account and settings)
Click Run Report
You will see the $500 I recorded is showing under the 1.Without Fund Restriction column for the total Business Checking bank account and not displaying under the “Not Specified” column. This is exactly what you need. You can click on the amount to view the transaction report to verify if needed.

Now you know how to record a bank transfer using a check-in QuickBooks Online and keep your balance sheet or statement of financial position report cleaned.
If you are not using location tracking and don't need it, read my post on how to transfer funds in QuickBooks Online.
Need to move your finances to QuickBooks Online? We are happy to help! Get started today!