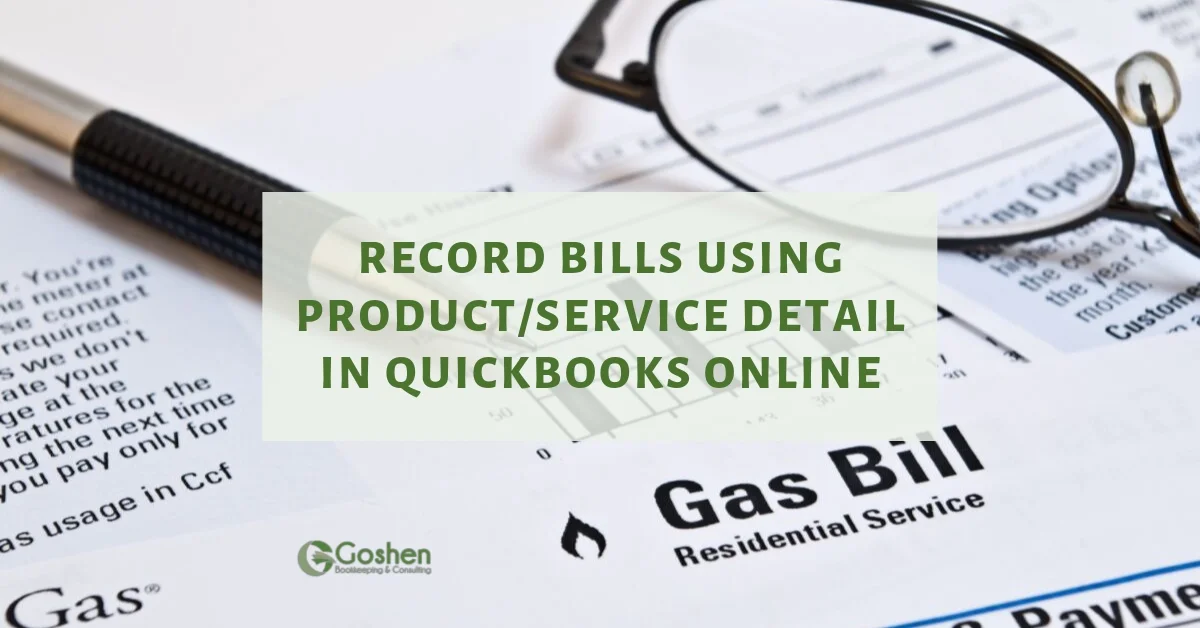
There are two ways to enter bills into QuickBooks Online. One way is to use the product/service details and another way is to use the category details option.
Watch the video or read the guide to learn how to record bills using a category and a service item in QuickBooks Online.
Steps to Record Bills in QuickBooks Online
To get started, log into qbo.intuit.com.
Click on the Quick Create (+) icon.
Under the vendor column, you can select Bill. QuickBooks Online will open a bill entry screen.
In the bill entry screen, select an existing vendor from the list or create a new one.
For this example, I will select Goshen Bookkeeping & Consulting as the vendor.
GBC Tip: Everything you enter in the bill entry screen must match the physical bill statement you receive from your vendor.
Record a Bill Using a Category
Fill in the details on the bill screen:
Enter the bill terms
Enter the bill date
Enter the bill number
Location (aka Division or Departments) = without donor restrictions
Under the Category details, record the following:
Category = expense account
Description field = purpose of the bill
Quantity = enter 1
Rate = enter the bill total amount or leave blank
Amount = bill total amount
Billable = leave unchecked
Customer/project field = enter a customer, donor, or member’s name you want to apply to the bill for internal reporting
Class = Admin or program
Memo field = repeat the description field text from above in this field
Attachment field = add the electronic copy of the bill
Once everything entered correctly, click the save and close green button to exit the bill entry screen or click save and new.
Record a Bill Using a Product or Service Item
Using the product/service details section is a great way to record bills that are billable to a grant for reimbursements.
GBC Tip: Make sure you have already set up a service item that is linked to an expense account in your general ledger under the products/services list.
Fill in the details on the bill screen:
Enter the bill terms
Enter the bill date
Enter the bill number
Location (aka Division or Departments) = without donor restrictions
Under the product/service details, record the following:
Product/Service = select your product or service item
Description field = purpose of the bill
Quantity = 1
Rate = enter the bill total amount or leave blank
Amount = enter the bill total amount
Billable = check this box
Customer/project field = select a customer or grant funder you want to apply to the bill
Class = Admin or program
Memo field = repeat the description field text from above in this field
Attachment field = add the electronic copy of the bill
Click the Save and close
Review the Bills
To see both of the bills we entered, click on the Expenses tab at the left navigation bar and then select the Expenses tab. The bills will show at the top of the screen based on the bill date.
You can click on the Vendors tab, locate your vendor name, and click on it to see the list of bills entered.
Now you know how to record your bills from vendors in QuickBooks Online and make them billable to a grant.
Are You On Pinterest?
If you enjoyed this post, share it!

Questions about using QuickBooks Online to manage your nonprofit’s finances? Contact me - I am happy to help!