


It is super easy to enter a bill into QuickBooks Online. Log into your QuickBooks Online account and follow the below steps to get started.
Log into QuickBooks Online.
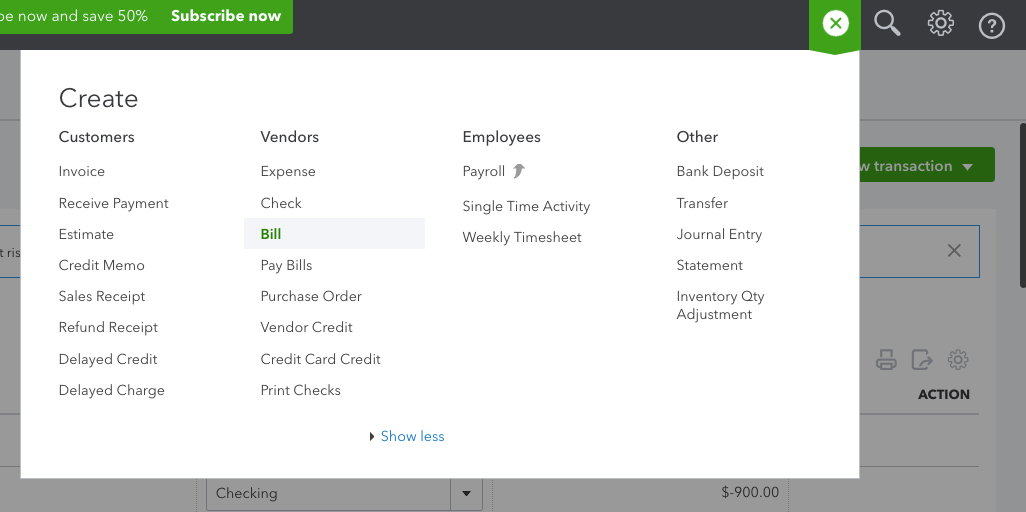
Click on the Quick Create "+" icon in the top right navigation bar. Under the Vendor column, click on Bill.
QuickBooks Online will open up a Bill entry screen. Complete the following fields:
Select an existing vendor from the list or create a new one
Enter the bill terms, date, and due date from the physical bill
Enter the bill number
Select the expense account and enter a description of the purpose of the bill
Enter the bill amount
You have the option of making the bill billable to a customer or adding a class to track the expenses to a particular project or fund source
7. For job costing and grant tracking to a customer, use the item details option to enter the bill repeating the above steps but select a product or service item instead.
8. Repeat the description information in the memo field and review the total amount to make sure it matches the physical bill.
9. Add a copy of the bill as an attachment in the attachment field. Then click save and close to exit from the bill screen or save and new to continue adding more bills into QuickBooks Online.
That's it. Check out my prior blog post on how to pay a bill in QuickBooks Online.
Feel free to share this QuickBooks Online tip with other users. Reach out to me if you need a one-on-one QuickBooks Online training session.


